Introduction
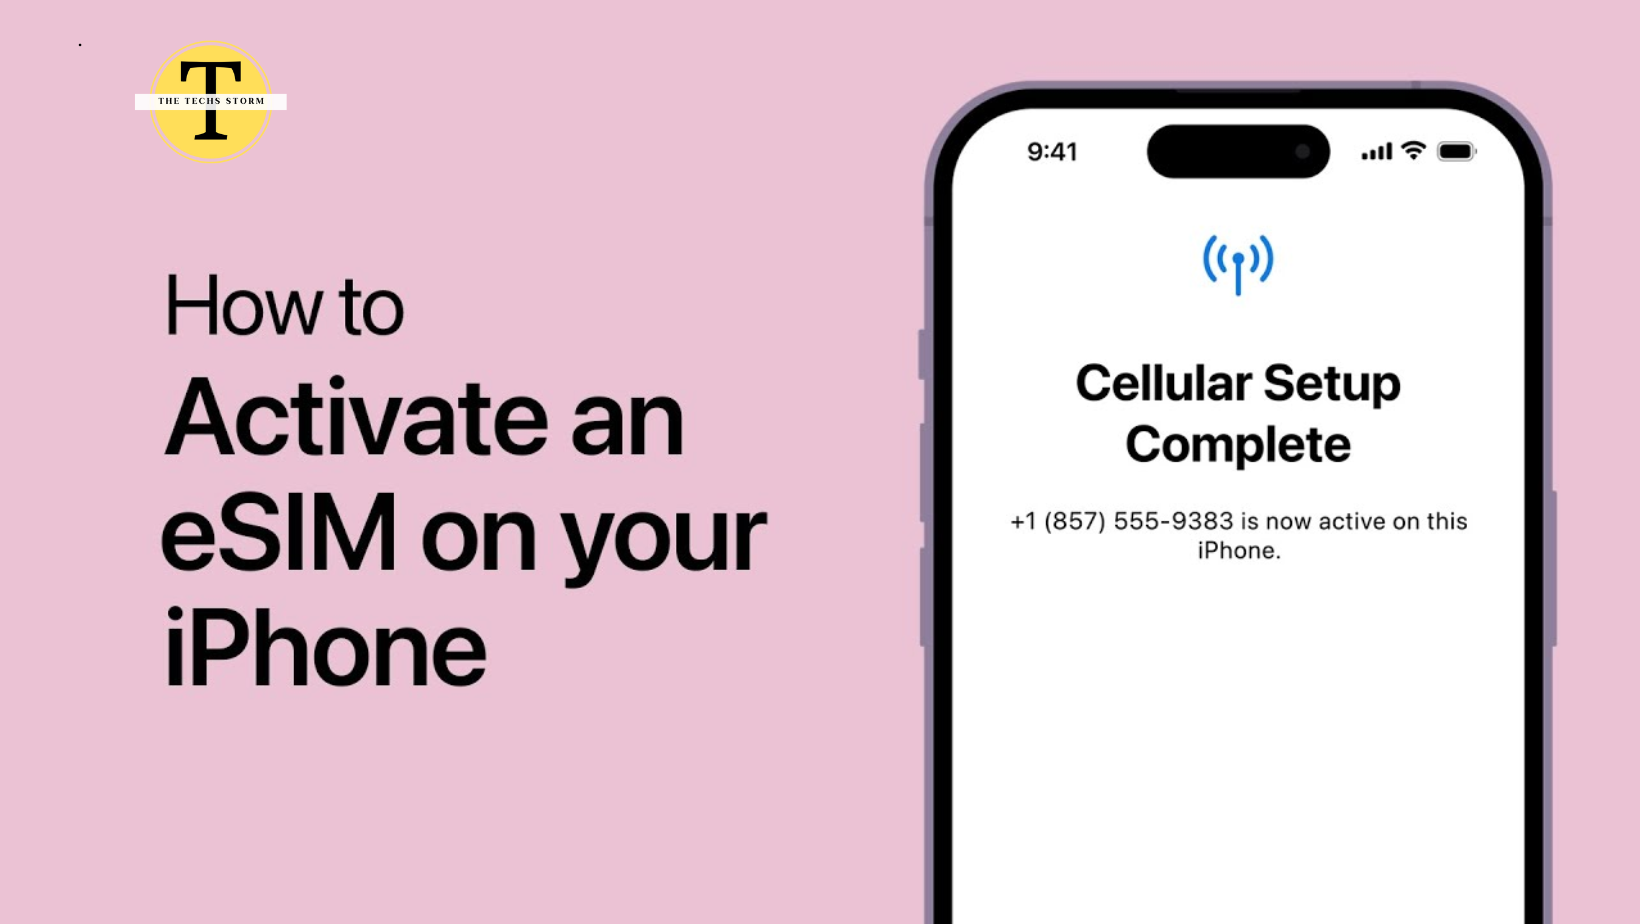
Mobile connectivity advances significantly with the replacement of conventional SIM cards for embedded SIM (eSIM) technologies. Users of the iPhone 14, which completely embraces this technology, are expected to have more convenience and flexibility. ESIMs are incorporated straight into your phone unlike regular SIM cards, so enabling you to activate a cellular service without requiring a real nano-SIM. Emphasizing the simplicity and advantages of switching, this page guides you through the process of activating an eSIM on your iPhone 14.
What You Need Before You Start
Make sure everything is ready for a flawless setup before entering into the eSIM activating process on your iPhone 14. Verify first that your iPhone 14 model supports eSIM technology; this information can easily found on Apple’s official website or via your carrier. Completing the setup without disruptions depends on a consistent Wi-Fi connection. Additionally ensure that your plan fits eSIM technology and that your provider offers eSIM services. Finally, make sure your Apple ID is signed into on your device; portion of the activation procedure depends on this.
Step-by-Step Guide to Activate eSIM on iPhone 14
Getting Your eSIM Activation Information
Depending on the offers made by your carrier, activating an eSIM on your iPhone 14 can be done in many ways. Usually, carriers present a QR code with all the information required for eSIM activation. Alternatively, many carriers have created apps available from the App Store that directly enable the eSIM setup process right on your device. Finally, you may always find your eSIM activation information straight from your carrier’s customer service if you would want a more personal touch or extra assistance.
Activating Your eSIM
Once you have your activation information, open ‘Cellular’ in the Settings on your iPhone. From there, hit ‘Add Cellular Plan’ and scan the QR code your carrier sent using the camera on your iPhone. If you have received hand-written details or are utilizing an app, follow the particular guidelines offered. Usually simple, this stage is crucial to make sure the QR code scans correctly in a well-lit surroundings.
Setting Up Your Cellular Plan
Your iPhone will ask you to set your new cellular plan after QR code scanning. You can choose one eSIM as your default line for calls and data if you use many. To help each plan—like “work” or “personal”—stay orderly—you can also label them. Especially if one is set aside for particular uses like overseas travel or commercial use, controlling data usage between your plans is absolutely vital.
Troubleshooting Common Issues
Sometimes things proceed differently than expected. Double-check that you’re connected to Wi-Fi and that all the data was entered accurately if your eSIM isn’t activating correctly after QR code scanning. Should problems continue, resetting your iPhone will fix minor bugs. If you still find yourself locked, getting in touch with the customer care of your carrier can help even more. They can walk you through other setups or confirm whether your account settings are correct.
Advanced Tips
On your iPhone 14, switching between several eSIMs flows naturally. Go to Settings > Cellular to select the eSIM to use for your default data and voice. Travelers or those who use different numbers for personal and business use will find this function especially helpful. Regarding travel, eSIMs are revolutionary for foreign visits. Direct purchase of a local data plan straight on your phone will help you avoid expensive roaming fees and the trouble of actual SIM changes.
Conclusion
Turning on an eSIM on your iPhone 14 is an easy operation with major conveniences and efficiency gains. Once configured, the ability to handle several numbers digitally and change between plans changes your phone use. Accept the transformation and savor the flawless connectivity offered by eSIM technology.
FAQ
Can I use my eSIM on more than one device?
ESIM profiles cannot be shared between several devices at present; they are meant to be utilized on one device. But you can move an eSIM from one device to another by reactivating it using the details your carrier supplied.
How do I remove an eSIM from my iPhone 14?
Eliminating an eSIM is as easy as choosing the plan you want to remove from Settings > Cellular and hitting “Remove Cellular Plan.” This will disable the eSIM and take it off of your device.
What happens to my eSIM if I reset my iPhone?
Your iPhone’s factory reset will wipe all of your data, including your eSIM. Following phone reset, you will need to reactivate your eSIM using the original details supplied by your carrier.


